Cut and Sew All Over Print Explained: Process, Benefits & Uses
Do you know how premium cut-and-sew, all-over print clothing achieves such vibrant, edge-to-edge graphics without leaving any unprinted white space? Unlike traditional garment printing, cut-and-sew involves printing the fabric before the garment is sewn and assembled, allowing the pattern to cover virtually every part of the finished product.
Today, cut-and-sew has become the industry standard for high-quality, all-over print products. It is also one of the most popular manufacturing methods for premium POD apparel brands.
In this guide, you'll learn how the cut-and-sew process works, why it's preferred for all-over print products, its advantages and limitations, the best fabrics and products to use, and practical design tips to help you create better-looking custom apparel.
What Is Cut and Sew All Over Print?
Cut and sew all over print is a premium garment manufacturing process in which the fabric is printed before the clothing is assembled. Instead of decorating a finished T-shirt or hoodie, the design is first transferred onto large pieces of fabric, which are then cut into individual pattern panels and sewn together to create the final garment.
For DTG or screen-printed garments, the clothing is typically sewn first, and the design is printed on afterwards. Because the seams, collars, sleeves, and hems block the printing equipment, the printable area is limited to the front, back, or other flat sections of the garment.
The following process will help you gain a solid understanding of the cut-and-sew manufacturing process:
1. Print Fabric
2. Cut Individual Panels
3. Aligning for sewing
4. Finished All-Over Print Apparel
This workflow enables true edge-to-edge graphics while giving designers far greater creative freedom. Large illustrations, repeating patterns, seamless artwork, and full-wrap designs can all be produced without being confined to a rectangular print area.
Why Is Cut and Sew Used for All Over Printing?
If you are familiar with all-over printing, you know that the pattern should cover the product's surface continuously; unfortunately, traditional garment printing methods often fall short of this goal.
With techniques like Direct-to-Garment (DTG) or screen printing, the garment must be fully assembled before printing begins. Due to structural elements such as seams, collars, pockets, hems, and sleeves, printing is typically limited to the flat, central area of the garment. Consequently, large blank spaces often remain along the edges, making it impossible to achieve a continuous print across the entire piece.
In contrast, the cut-and-sew process allows individual fabric panels to be printed flat before being cut according to the pattern and sewn into the finished garment. This method places higher demands on the sewing team, however, as they must align the patterns with great precision; any misalignment can compromise the visual integrity of the final product.
The cut-and-sew process enables true edge-to-edge printing, granting designers immense creative freedom. Whether the design involves large-scale illustrations, repeating patterns, seamless artwork, or full-coverage graphics, it can be executed with ease—unconstrained by the limitations of a rectangular print area. For this reason, virtually all high-end all-over print garments, ranging from sportswear and Hawaiian shirts to leggings and hoodies, are produced using the cut-and-sew method.
How the Cut and Sew Process Works?
Producing an all-over print garment using the cut-and-sew method involves multiple steps. Careful planning of the pre-production process is essential to ensure the final product fits well and looks appealing. The steps involved in the cut-and-sew process are as follows:
Step 1: Create Artwork
The first step in the cut-and-sew process is pattern design. When creating an all-over print design, the structure of the entire garment must be taken into account. Designers typically use professional software to create seamless patterns, illustrations, graphics, or full-garment artwork. The artwork should consider how different sections, such as sleeves, shoulders, side panels, and the front and back pieces, will connect once sewn together. You must ensure the design looks natural when transformed into a three-dimensional garment.
Step 2: Prepare Print Files
Once the design draft is complete, pre-production preparations are required. For cut-and-sew garments, designers must consider three key factors:
Once the design draft is complete, pre-production preparations are required. For cut-and-sew garments, designers must consider three key factors:
- Bleed: Bleed refers to the design area extending beyond the actual cutting line. Since fabric may shift slightly during cutting and sewing, extending the pattern beyond the edge prevents unwanted white gaps or unfinished areas.
- Safe Zone: The safe zone is the area where essential design elements should be placed. Logos, text, imagery, and other critical details must be kept away from cutting lines and seams to avoid being cut off or distorted during production.
- Pattern Piece Layout: As garments are assembled from multiple fabric pieces, the pattern must be arranged according to the shape and position of each piece. A well-planned layout ensures that the pattern flows seamlessly across the different sections once the garment is assembled.
Step 3: Sublimation Printing
Once the print files are ready, the artwork moves into the fabric printing stage. Most high-quality all-over print apparel uses sublimation printing.
First, the design is printed onto special transfer paper using sublimation ink. The printed paper is then placed onto polyester fabric, and both materials are exposed to high temperatures using a heat press. Under heat and pressure, the solid dye on the transfer paper turns into a gas and penetrates the polyester fibers. After cooling, the ink becomes part of the fabric itself rather than sitting on the surface.
Related reading: What Is Sublimation Printing and Why Choose It for All-Over Print Clothing?
Step 4: Fabric Cutting
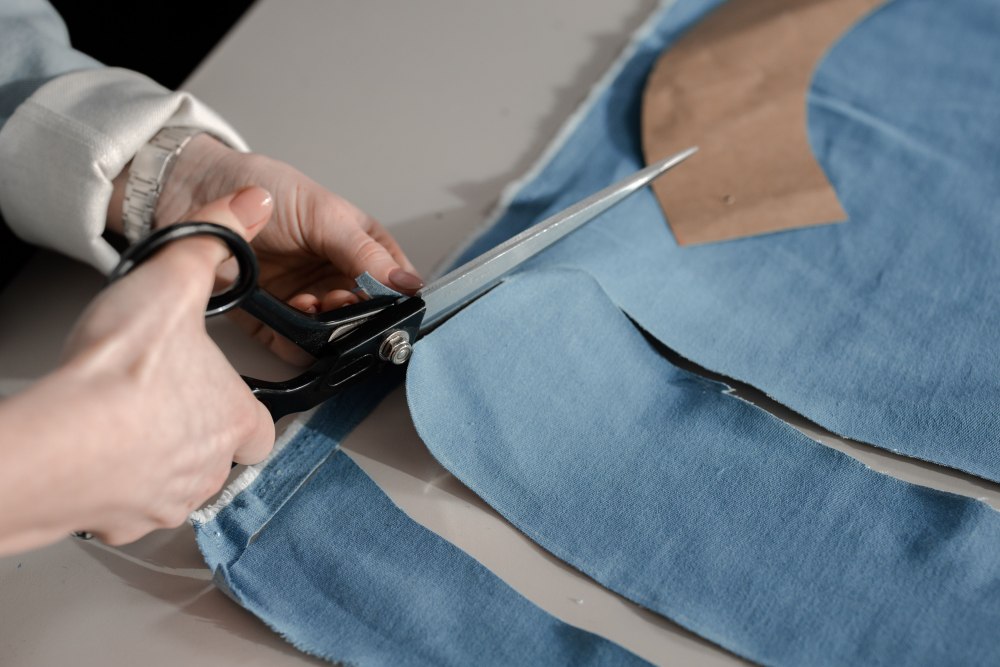
After printing, the large printed fabric sheets are carefully cut into individual garment panels. This step requires high precision because every panel must match the original garment pattern. Small cutting errors can affect how the artwork aligns after sewing, especially for complex designs with repeating patterns or detailed graphics. Professional manufacturers typically use digital cutting systems to ensure accurate panel shapes and consistent sizing across every product.
Step 5: Sewing
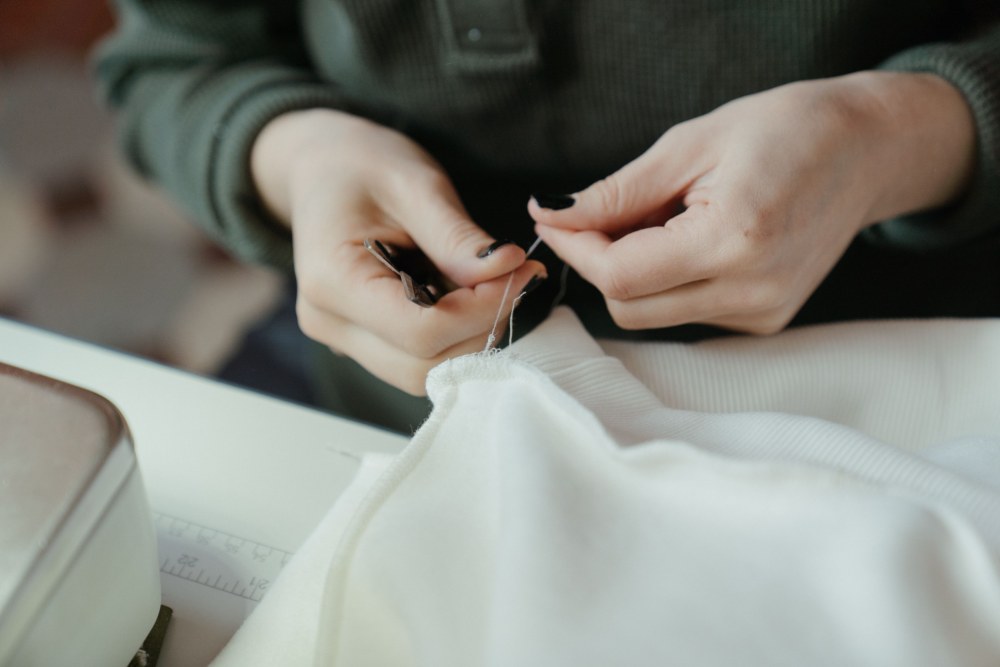
Once all fabric panels are cut, skilled workers assemble them into the final garment through sewing. Each fabric piece must be connected correctly so that the overall design remains balanced. Misaligned panels can create uneven patterns or noticeable breaks in the artwork. For designs with stripes, geometric shapes, or repeating graphics, manufacturers must carefully match patterns between different sections. Proper pattern matching creates a seamless appearance and gives the finished product a premium retail-quality look.
Please note that the steps above assume the garment pattern has already been created; unless you have received relevant training, it is best to have a professional handle the pattern-making process. Once the pattern is ready, you can generally proceed to printing, cutting, and sewing to create the first sample garment, followed by a fitting on a model.
Benefits of Cut and Sew All Over Print
Industry insiders in the print-on-demand sector recognize that cut-and-sew all-over print offers numerous advantages, making it the preferred production method for high-end custom apparel.
True Edge-to-Edge Printing
One of the biggest advantages of cut and sew all over print is genuine edge-to-edge coverage. Since the fabric is printed before the garment is assembled, graphics can extend across the entire surface, including sleeves, shoulders, side panels, and seams. Unlike standard printing methods that are limited to the front or back of a finished garment, cut and sew allows every inch of fabric to become part of the design.
Better Design Freedom
Designers have virtually unlimited creative freedom with cut and sew apparel. Large patterns, gradients, illustrations, geometric graphics, and repeating prints can flow naturally across multiple panels without being restricted by printable areas.
Professional Branding
Cut and sew printing creates a more polished, retail-quality appearance. Brands can incorporate custom neck labels, matching sleeves, coordinated side panels, and seamless all over graphics that reinforce their visual identity. The finished product looks intentionally designed rather than simply decorated, helping elevate brand perception.
More Product Options
The cut and sew process isn't limited to T-shirts. It can be used to produce hoodies, sweatshirts, leggings, jerseys, sports bras, Hawaiian shirts, pajamas, blankets, pet apparel, and many other products. This flexibility allows brands to expand their product lines while maintaining consistent design quality across different apparel categories.
Higher Perceived Value
Consumers often associate cut and sew apparel with premium quality. Full-garment graphics, vibrant colors, and professional construction create products that feel more exclusive than standard printed garments. As a result, many brands can position cut and sew products at higher price points, improving both customer satisfaction and profit margins while strengthening their overall brand image.
Limitations to Know Before Choosing Cut and Sew
Compared to standard print-on-demand methods, the production process is more complex and requires additional planning. Here are some limitations of the cut and sew process:
Longer Production Time
Because every garment is printed, cut, sewn, and inspected individually, cut and sew production typically takes longer than printing on pre-made blanks. Each step requires precision to ensure patterns align correctly and the finished garment meets quality standards. If you're working with tight deadlines or seasonal product launches, it's important to factor in the additional production time.
Higher Cost
Cut and sew apparel generally costs more than traditional printed garments. Instead of decorating an existing blank, manufacturers must print the fabric first and then assemble the entire garment from scratch. This labor-intensive process, combined with additional materials and quality control, increases production costs.
Fabric Restrictions
Cut and sew all over printing works best with polyester and polyester-rich fabrics because they are compatible with dye-sublimation printing. Natural fibers like 100% cotton cannot achieve the same vibrant, permanent results using this process.
Best Products for Cut and Sew All Over Print
All Over Print T-Shirts
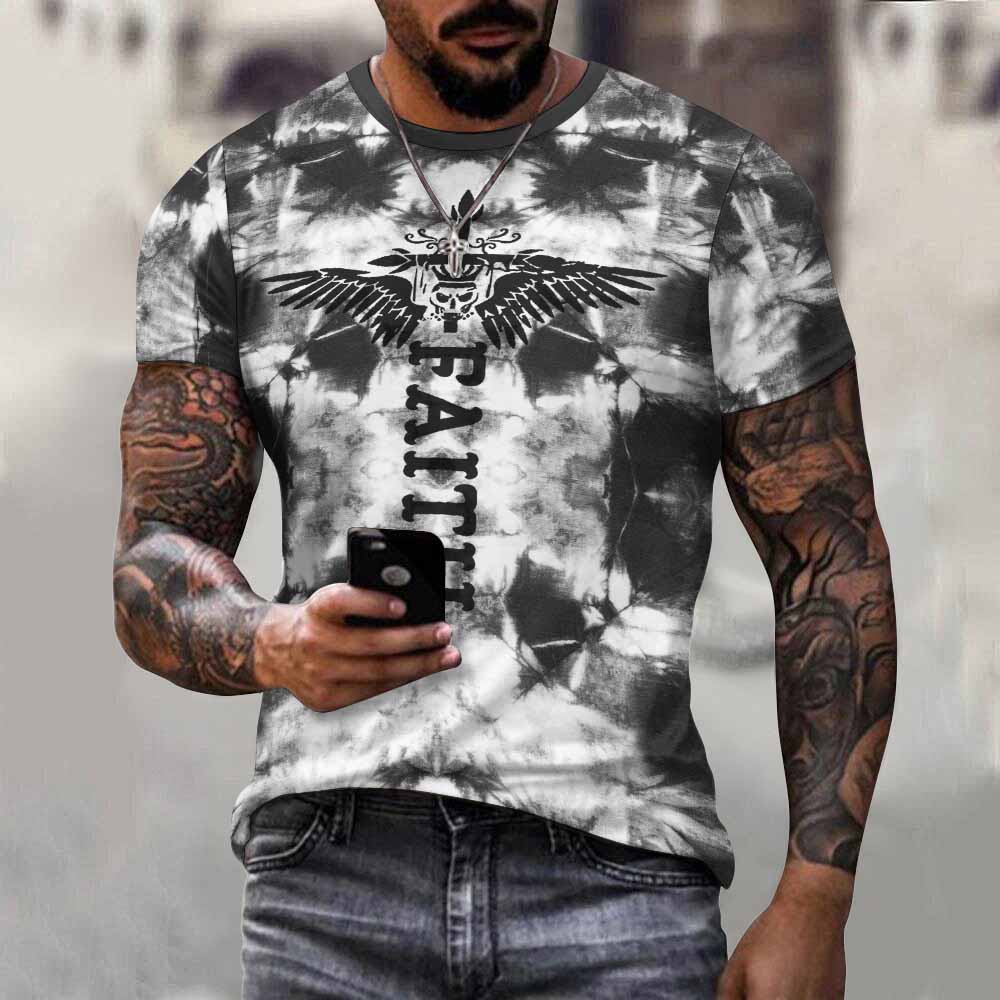
T-shirts are one of the most popular applications for cut and sew printing. Unlike standard printed tees that limit artwork to the front or back, cut and sew t-shirts can feature continuous designs that extend across the sleeves, shoulders, sides, and even the collar area. Perfect for fashion brands and streetwear collections.
All Over Print Hoodies
Hoodies present unique printing challenges due to their multiple panels, large sleeves, hood, and kangaroo pocket. Cut and sew production solves these challenges by printing each fabric piece individually before assembly.
Leggings and Activewear
Leggings are among the products that benefit most from cut and sew all over printing. Stretch fabrics require artwork to be carefully aligned across multiple panels, making precision cutting and sewing essential. Furthermore, since most leggings are made from a blend of polyester and spandex, they are ideally suited for the dye-sublimation printing process, resulting in vibrant and durable designs.
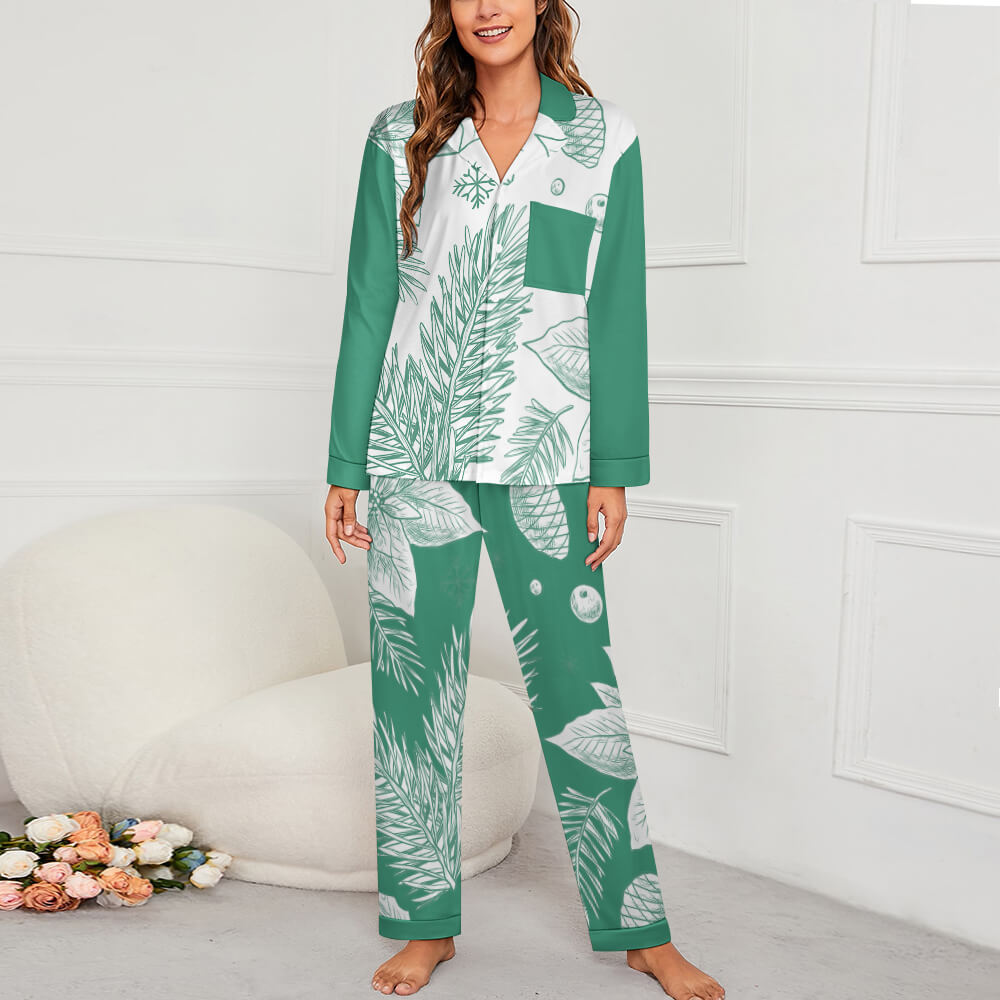
Pajamas and Loungewear
Pajamas, robes, and loungewear rely heavily on comfort and visual appeal. Cut and sew printing allows brands to create coordinated designs across tops, pants, and sleeves while maintaining consistent color and pattern placement. These products are especially popular during seasonal shopping events and gift-giving holidays.
Pet Apparel
Pet clothing has become a fast-growing niche in the print-on-demand market. Cut and sew manufacturing allows custom designs to fit the unique shape of pet garments while maintaining full-color coverage.
Best Fabrics for Cut and Sew Apparel
Since most cut and sew all over print garments are created using dye sublimation, fabric selection directly affects color vibrancy, print durability, comfort, and overall garment quality. While several materials can be used for cut and sew manufacturing, some perform significantly better than others.
Polyester
Polyester is by far the most widely used fabric for cut and sew all over print apparel. It works exceptionally well with dye sublimation. polyester is commonly used for products such as performance T-shirts, hoodies, jerseys, leggings, swimwear, and sportswear.
Polyester-Spandex Blends
For garments that require flexibility and stretch, polyester-spandex blends are an excellent option. These fabrics maintain the print quality of polyester while adding elasticity, making them ideal for activewear and fitted apparel.
Common applications include:
- Leggings
- Sports bras
- Compression shirts
- Yoga apparel
- Cycling wear
- Athletic shorts
Cotton and Cotton Blends
Traditional dye sublimation does not chemically bond with natural cotton fibers. As a result, 100% cotton garments generally cannot achieve the same vibrant, permanent all over prints as polyester-based fabrics. Some manufacturers use cotton-polyester blends or alternative printing technologies to create similar effects, but these often involve trade-offs in color intensity or durability. If achieving bold, full-coverage graphics is your priority, polyester remains the more reliable option.
Design Tips for Better Cut and Sew Results
Creating artwork for cut and sew all over print apparel requires a different approach than designing for traditional garment printing. Since the artwork is printed on individual fabric panels before they're sewn together, every design element must account for cutting lines, seam placement, and fabric construction. The following best practices can help you create professional-looking cut and sew apparel while minimizing costly production issues.
Avoid Placing Faces or Important Graphics Across Seams
If a person's face, logo, or detailed illustration falls across a seam, even a small alignment variation may make the finished product look distorted.
Whenever possible:
- Keep portraits and facial features on a single panel.
- Avoid splitting logos across side seams.
- Position important illustrations away from shoulder and underarm seams.
- Use repeating patterns instead of large focal graphics in seam-heavy areas.
Always Include Bleed Around Every Panel
Bleed refers to the extra printed area that extends beyond the final cutting line. During production, fabric panels are trimmed before being sewn together. Without sufficient bleed, even a slight cutting variation can expose unwanted white edges along the seams.
As a general rule:
- Extend background colors beyond the cut line.
- Continue patterns past the panel edge.
- Never end artwork exactly at the trim line.
Most manufacturers provide recommended bleed dimensions for each product template, so always follow those specifications before exporting your design files.
Use High-Resolution Artwork
Large all over print designs require significantly higher image quality than standard front-print graphics. Stretching a small image across an entire hoodie or blanket can quickly result in blurry details and visible pixelation.
For the best results:
- Design at 300 DPI whenever possible.
- Use the full dimensions provided in the product template.
- Choose vector graphics for logos and illustrations when available.
- Avoid enlarging low-resolution images beyond their original size.
Keep Important Text Away from Stitching Lines
Unlike decorative patterns, text becomes difficult to read if it's interrupted by seams, folds, or stitching. Even slight panel shifts can affect letter spacing or alignment.
To improve readability:
- Keep slogans and brand names within the main printable panels.
- Leave generous spacing around seam lines.
- Avoid placing small text near cuffs, collars, or side seams.
- Preview text placement on the finished garment rather than on flat templates.
Preview Your Design with Mockups Before Production
Before sending artwork to production, generate realistic mockups to see how the design wraps around the finished garment. Mockups help identify issues that are easy to miss during the design stage, such as awkward pattern placement, mismatched panels, or graphics hidden beneath sleeves and folds.
FAQs
Is Cut and Sew Expensive?
Compared with traditional garment printing, cut and sew apparel generally has a higher production cost. That's because the manufacturing process involves several additional steps, including printing fabric panels, precision cutting, sewing the garment together, and performing quality inspections before packaging.
Does Cut and Sew Last Longer?
The durability of a cut and sew garment depends on both the fabric and the printing method, but in most cases, high-quality cut and sew apparel is built to last. In addition to the print itself, well-manufactured cut and sew garments often feature stronger stitching and more consistent construction because they are assembled specifically for the printed design. To maximize the lifespan of your apparel, it's recommended to wash garments in cold water, avoid harsh bleach, and tumble dry on low heat or air dry whenever possible.
Can Cotton Be Used for Cut and Sew Printing?
The cut and sew process simply refers to how a garment is constructed—it doesn't determine the printing technology. However, most all over print apparel is produced using dye sublimation, and sublimation ink bonds effectively only with polyester fibers. Because cotton doesn't absorb sublimation ink in the same way, it cannot produce the same vibrant, permanent full-color prints.